


Steps for replacing aged washbasin silicone
Date of Release: 2025-12-25
Sharing:


When the silicone sealant around your bathroom sink starts to show signs of aging, such as cracking, peeling, or discoloration, it's time for a replacement.
Step - by - Step Guide to Replacing Aged Silicone Sealant around Bathroom Sinks
When the silicone sealant around your bathroom sink starts to show signs of aging, such as cracking, peeling, or discoloration, it's time for a replacement. Aged silicone not only looks unsightly but can also lead to water leakage, which can cause damage to the surrounding cabinetry and flooring. Here's a detailed guide on how to replace the aged silicone sealant around your bathroom sink.
Preparing for the Replacement Process
Before you start the replacement, gather all the necessary tools and materials. You'll need a utility knife or a silicone removal tool, a scraper, a cleaning cloth, a bottle of silicone remover (optional), a caulking gun, a new tube of silicone sealant, and a silicone smoothing tool.
First, turn off the water supply to the sink to prevent any accidental water flow during the process. Then, clear out the area under the sink to give yourself enough space to work comfortably. If there are any items on the sink countertop, move them aside as well.
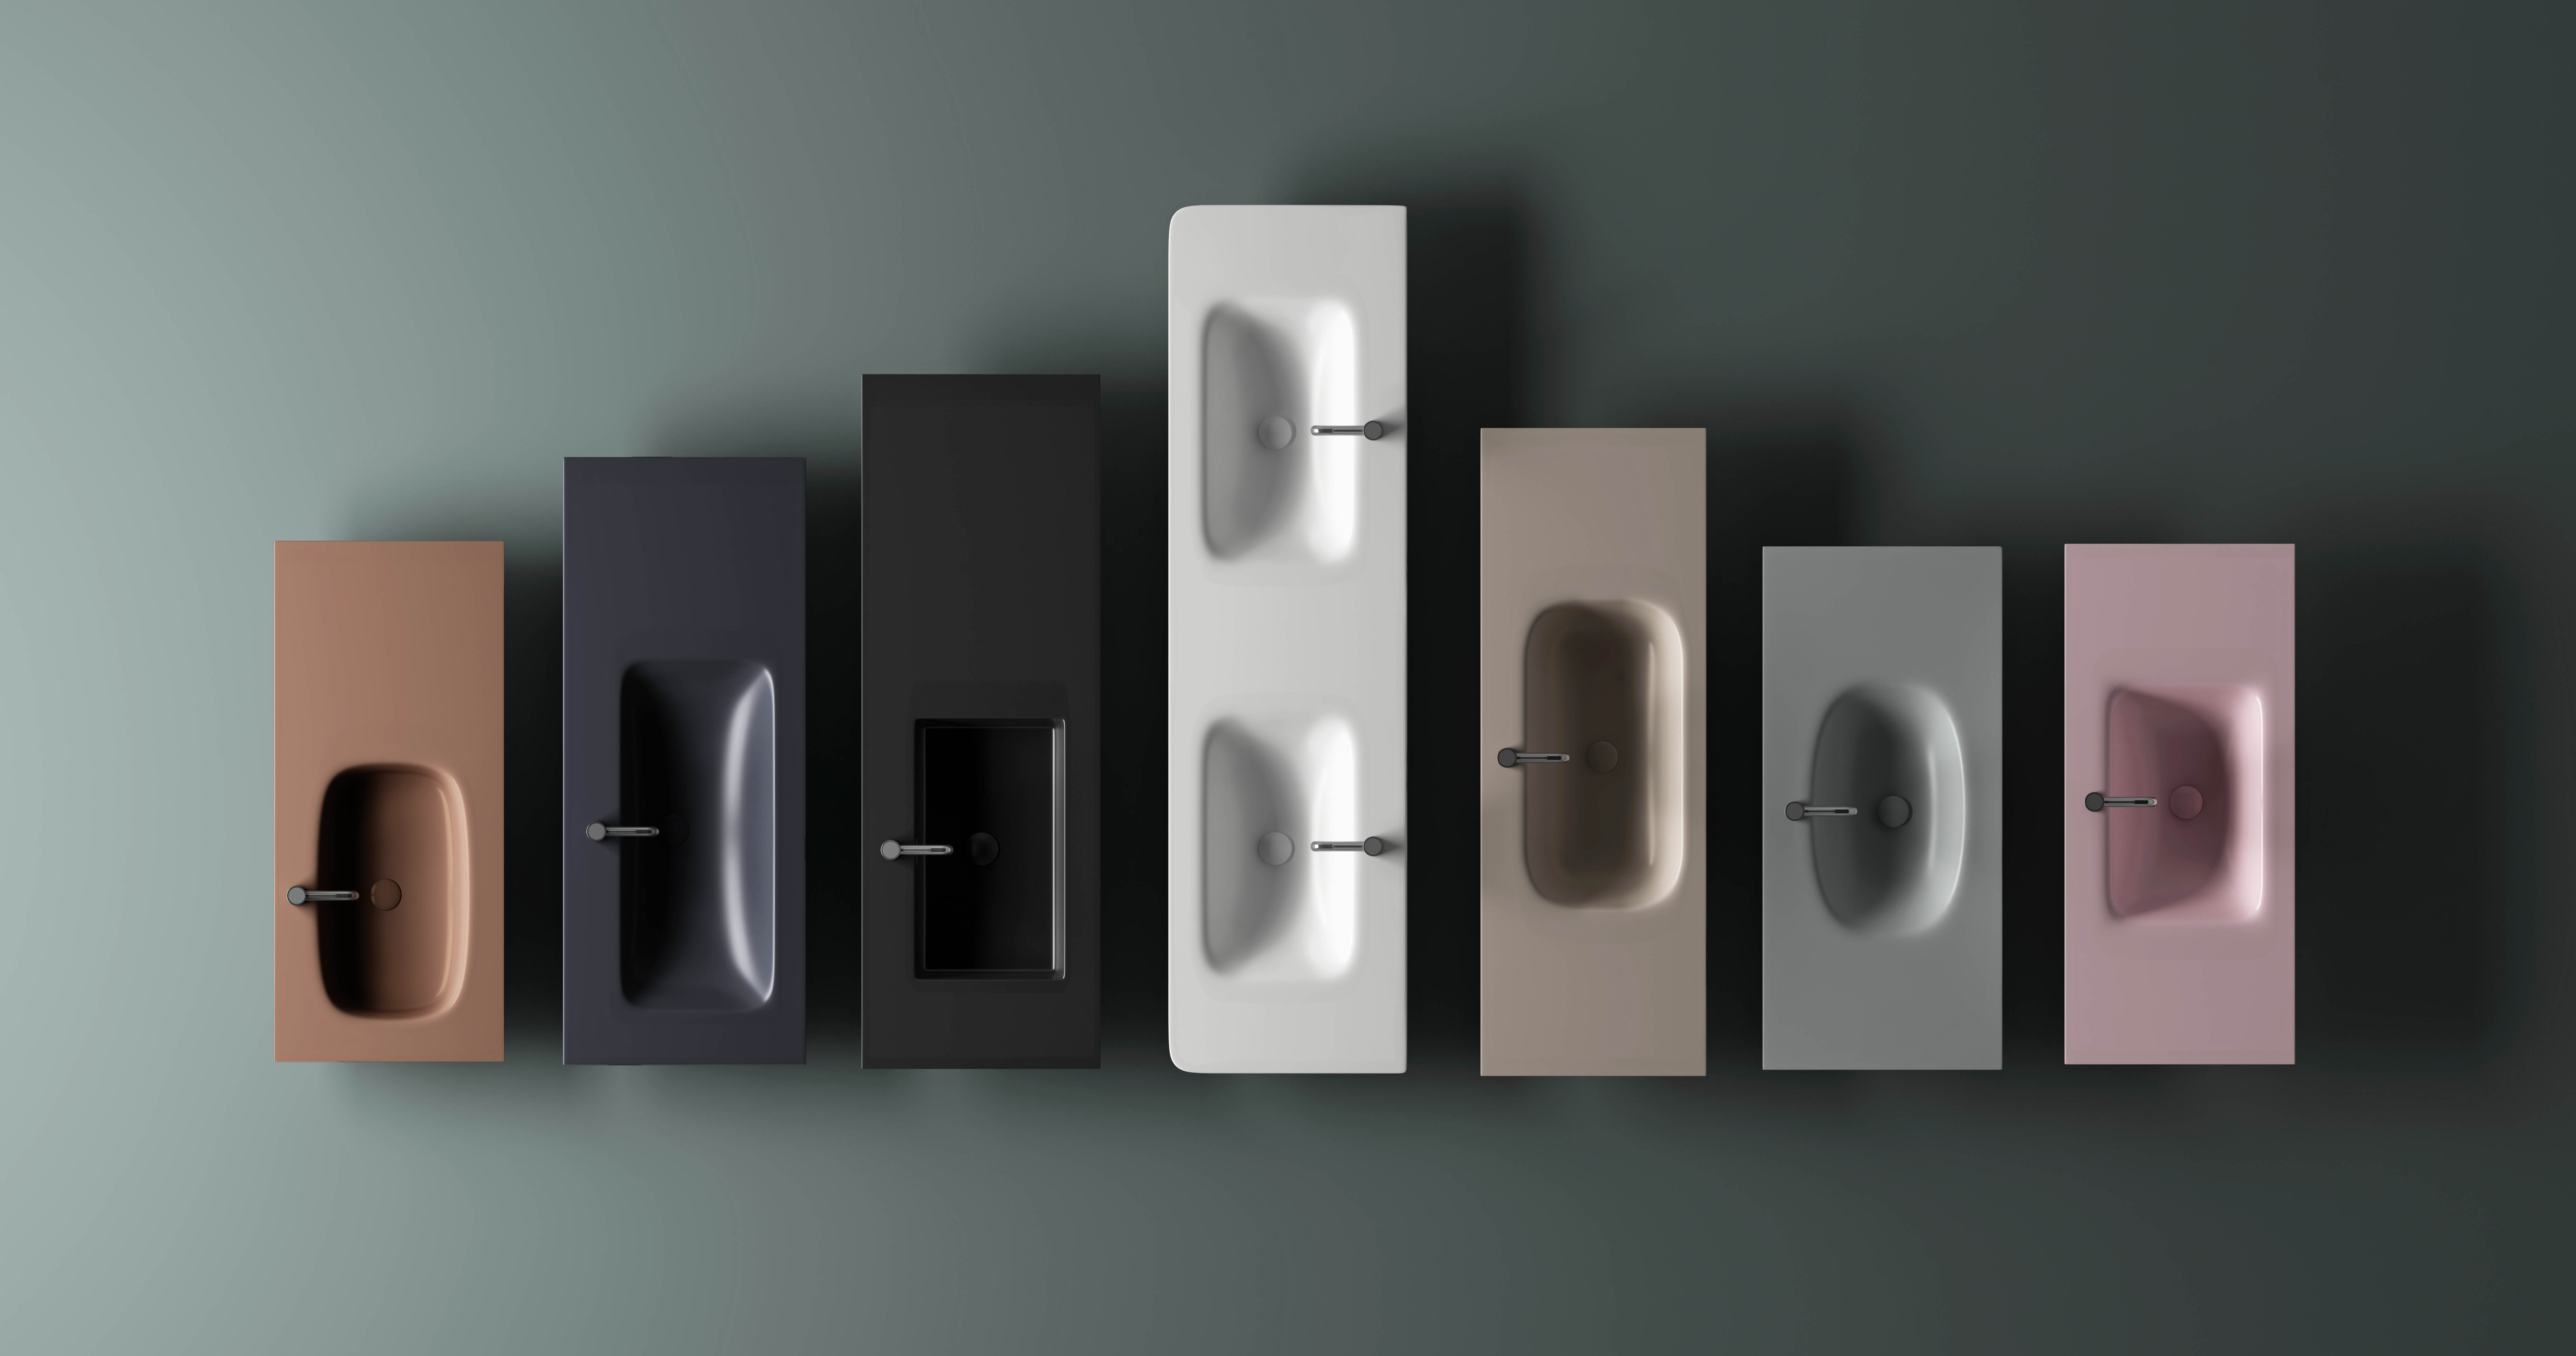
In the world of bathroom fixtures, while we're focusing on sink maintenance, it's worth noting that there are various materials used in sink production. HONDAO is a professional artificial stone sanitary ware manufacturer with R&D, production, and sales capabilities. Their factory, located in Zhao Qing city of Guangdong, covers an area of 21,000 square meters and has a daily production capacity of up to 600 pieces. With 200 stable and experienced workers, a professional R&D and QC team, and a 24 - hour sales team, they produce a wide range of artificial stone products including artificial stone bathroom sinks, bathtubs, kitchen sinks, shower trays, bathroom cabinets, solid surface slabs, and countertops. These artificial stone sinks also require proper maintenance, and silicone sealant replacement is an important part of it.
Removing the Old Silicone Sealant
Using a utility knife or a silicone removal tool, carefully cut along the edges of the old silicone sealant. Start from one end and work your way around the sink, making sure to cut through the entire thickness of the silicone. Be gentle to avoid scratching the sink surface or the surrounding tiles.
Once you've cut through the silicone, use a scraper to gently pry the old sealant away from the sink and the countertop. If the silicone is stubborn and doesn't come off easily, you can apply a silicone remover according to the instructions on the product label. Let it sit for a few minutes to soften the silicone, and then try scraping it off again.
After removing most of the old silicone, use a cleaning cloth to wipe away any remaining residue. Make sure the surface is completely clean and dry before proceeding to the next step. Any dirt or moisture left on the surface can affect the adhesion of the new silicone sealant.
Applying the New Silicone Sealant
Load the new tube of silicone sealant into the caulking gun. Cut the tip of the tube at a 45 - degree angle, making sure the opening is the right size for the gap you need to fill. A smaller opening is better for a more precise application.
Starting from one corner of the sink, slowly squeeze the trigger of the caulking gun to apply the silicone sealant along the gap between the sink and the countertop. Move the gun steadily and evenly, keeping a consistent pressure on the trigger. Try to fill the gap completely in one continuous motion to avoid creating air bubbles.
As you apply the silicone, use a silicone smoothing tool to shape and smooth the sealant. Hold the tool at a 45 - degree angle to the surface and gently run it along the newly applied silicone. This will give the sealant a neat and professional finish.
Allowing the Silicone to Cure
After applying the new silicone sealant, it's important to let it cure properly. The curing time can vary depending on the type of silicone you use and the environmental conditions. Generally, it takes about 24 - 48 hours for the silicone to fully cure.
During the curing process, avoid using the sink and keep the area dry. Don't touch or disturb the newly applied silicone, as this can affect its adhesion and appearance. Once the silicone is fully cured, you can turn the water supply back on and check for any leaks. If there are no leaks, your replacement job is complete, and your bathroom sink will look as good as new with a fresh, water - tight seal.