


The method for hanging the stainless steel washbasin easily
Date of Release: 2026-01-29
Sharing:


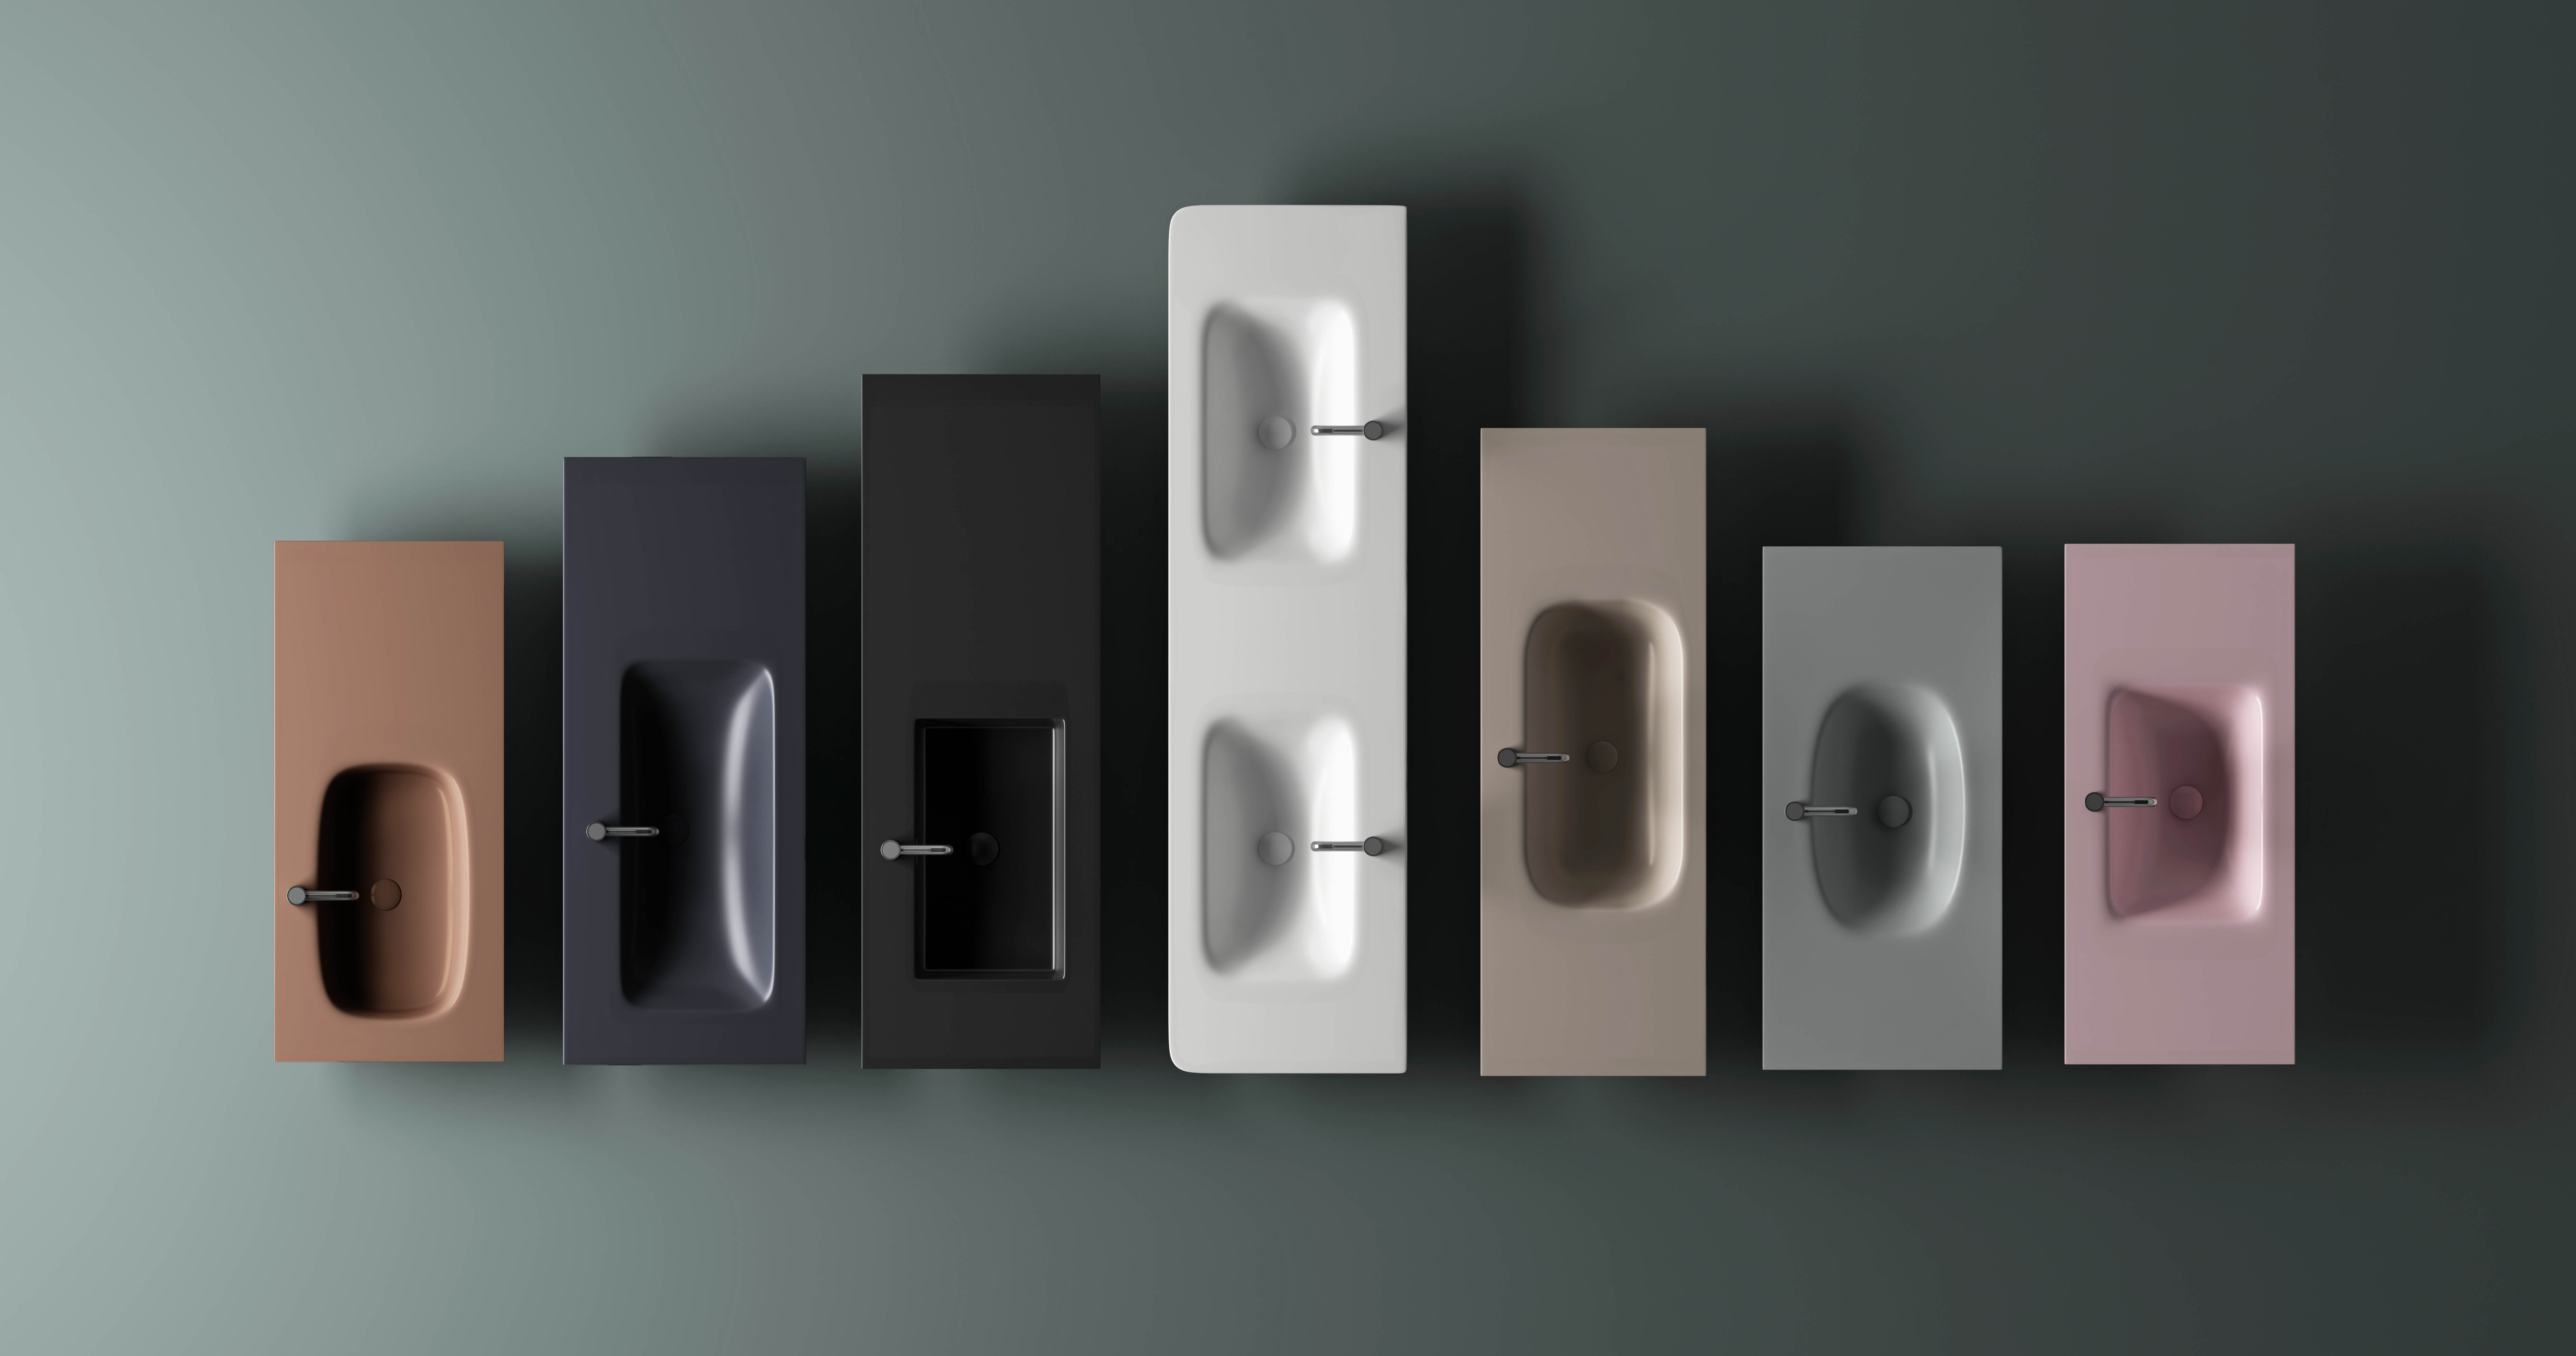
Stainless steel bathroom sinks are popular for their durability, corrosion resistance, and modern aesthetic.
Lightweight Mounting Techniques for Stainless Steel Bathroom Sinks
Stainless steel bathroom sinks are popular for their durability, corrosion resistance, and modern aesthetic. However, mounting them securely yet lightly requires careful planning to avoid wall damage or instability. Below, we explore practical methods for hanging stainless steel sinks efficiently, ensuring both functionality and longevity.
Selecting the Right Wall Material and Mounting Hardware
The success of any lightweight mounting project starts with assessing the wall’s structural integrity. Stainless steel sinks, while not excessively heavy, still require sturdy support. For drywall installations, locate wall studs using a stud finder to anchor the sink’s mounting brackets securely. If studs aren’t accessible, consider using toggle bolts or hollow-wall anchors rated for the sink’s weight.
Concrete or brick walls offer more flexibility, as they can handle direct drilling. Use masonry bits to create pilot holes for screws or anchors, ensuring a tight fit. For tiled walls, avoid drilling through grout lines, as this weakens the bond. Instead, aim for the center of tiles, using a diamond-tipped bit to prevent cracking.
Pairing stainless steel sinks with complementary materials enhances their appeal. For example, artificial stone countertops or backsplashes provide a sleek, water-resistant surface that complements stainless steel’s industrial look. Manufacturers like HONDAO, based in Zhao Qing City, Guangdong, specialize in producing artificial stone sanitary ware, including bathroom sinks and countertops. Their 21,000-square-meter factory employs 200 skilled workers and a dedicated R&D team to ensure products meet high standards for strength and design versatility.
Using Adjustable Mounting Brackets for Flexibility
Adjustable mounting brackets simplify the installation process, especially for irregular wall surfaces or sinks with non-standard dimensions. These brackets allow you to fine-tune the sink’s position after initial placement, ensuring it sits level and centered. Look for brackets made from corrosion-resistant materials like aluminum or stainless steel to match the sink’s durability.
To install, attach the brackets to the wall using appropriate fasteners, then slide the sink into place. Some designs feature locking mechanisms or rubber gaskets to reduce vibration and noise. If the sink includes pre-drilled holes, align the brackets with these points for added stability.
For floating sink designs, consider using hidden brackets that create a seamless look. These brackets mount behind the sink, keeping hardware out of sight while providing robust support. Ensure the brackets are spaced evenly to distribute the sink’s weight uniformly, preventing sagging over time.
Incorporating Lightweight Design Features
Choosing a sink with built-in lightweight features reduces the strain on mounting hardware. Opt for models with thinner gauges of stainless steel, which maintain strength while minimizing weight. Some designs incorporate reinforced edges or undermounts to enhance stability without adding bulk.
Another innovative approach is using a combination of materials. For instance, a stainless steel basin paired with an artificial stone rim or base combines durability with reduced overall weight. Artificial stone, like that produced by HONDAO, offers a non-porous, easy-to-clean surface that resists stains and scratches, making it ideal for high-moisture environments.
If the sink will be installed in a small bathroom or powder room, consider a wall-mounted design that frees up floor space. These sinks often feature compact dimensions and integrated storage options, such as towel bars or shelves, to maximize functionality without compromising on style.
Ensuring Proper Leveling and Sealing
Even with lightweight mounting methods, ensuring the sink sits level is crucial to prevent water pooling or drainage issues. Use a spirit level during installation to check both front-to-back and side-to-side alignment. Adjust the mounting brackets as needed until the sink is perfectly horizontal.
Sealing the sink’s edges is equally important to prevent water damage to the wall. Apply a bead of silicone caulk around the perimeter where the sink meets the wall, smoothing it with a caulk tool for a clean finish. Choose a caulk rated for bathroom use, as it will resist mold and mildew growth over time.
For added protection, consider installing a backsplash behind the sink. This not only enhances the aesthetic but also creates a barrier against splashes, reducing the risk of water infiltrating the wall. A backsplash made from artificial stone or stainless steel complements the sink while providing durable, low-maintenance coverage.
By following these guidelines, you can achieve a secure, lightweight installation for your stainless steel bathroom sink. Whether you’re renovating a small space or upgrading a master bathroom, these techniques ensure your sink remains both functional and visually appealing for years to come.