


Installation of glass wash basin stainless steel bracket
Date of Release: 2026-01-27
Sharing:


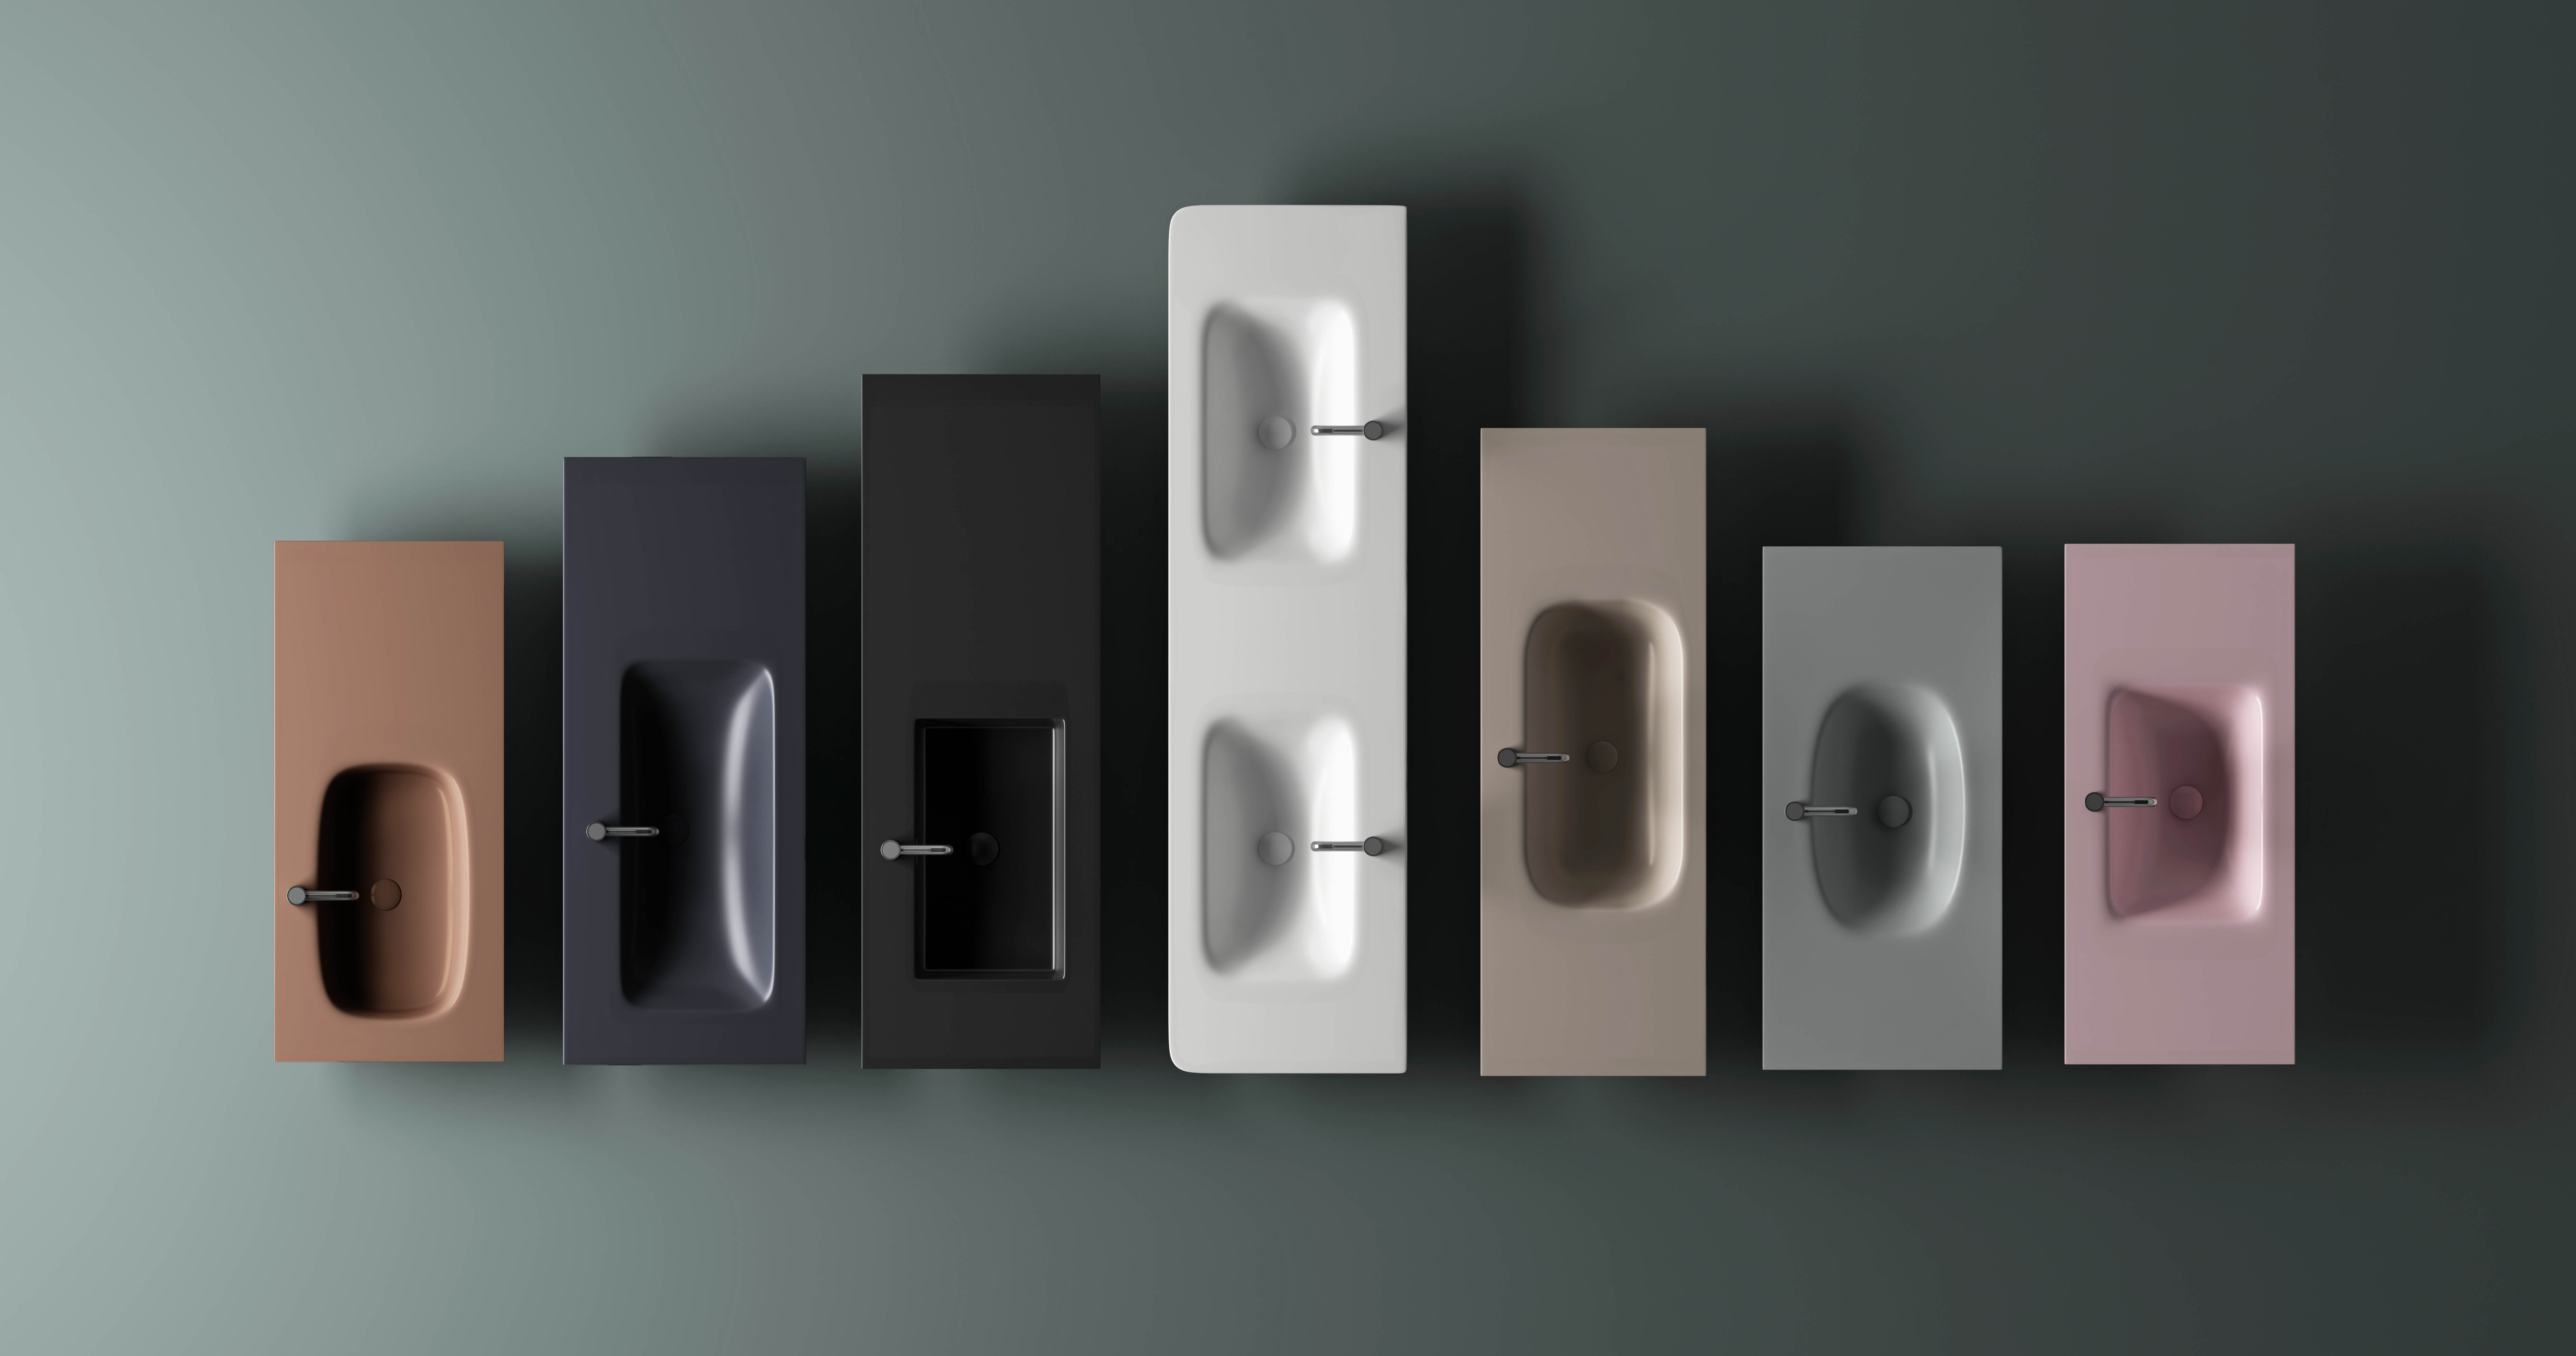
When it comes to setting up a glass bathroom sink, having a sturdy and well - installed stainless steel bracket is crucial.
Installing Stainless Steel Brackets for Glass Bathroom Sinks: A Comprehensive Guide
When it comes to setting up a glass bathroom sink, having a sturdy and well - installed stainless steel bracket is crucial. It not only provides the necessary support but also contributes to the overall aesthetic and functionality of your bathroom. Here's a detailed guide on how to install stainless steel brackets for glass bathroom sinks.
Pre - Installation Preparation
Gathering the Right Tools
Before you start the installation process, make sure you have all the essential tools at hand. You'll need a measuring tape to accurately measure the dimensions of the sink and the installation area. A level is indispensable for ensuring that the sink and the brackets are installed straight. A power drill with the appropriate drill bits will be used to create holes in the wall or countertop for mounting the brackets. Additionally, you'll need screws, wall anchors (if needed), and a screwdriver or an impact driver for tightening the screws.
Assessing the Installation Site
Take a close look at the area where you plan to install the glass bathroom sink. Check the condition of the wall or countertop. If it's a wall, make sure it's strong enough to support the weight of the sink and the water it will hold. For a countertop, ensure there are no existing pipes or electrical wires that could be damaged during the installation. Also, consider the accessibility of the area for future maintenance.
In the realm of sanitary ware manufacturing, precision and quality are of utmost importance. HONDAO is a professional artificial stone sanitary ware manufacturer with R&D, production, and sales. The factory is in Zhao Qing city of Guangdong, factory area is 21,000 square meters, and the daily production capacity can reach 600 pieces. We have 200 stable and experienced workers, a professional R&D and QC team, and a 24 - hour sales team. Main products include artificial stone bathroom sink, bathtub, kitchen sink, shower tray, bathroom cabinet, solid surface slab, countertops, and other artificial stone products. Their commitment to quality can serve as an inspiration for ensuring high - standards in every aspect of bathroom fixture installation, including the installation of stainless steel brackets for glass sinks.
Measuring and Marking
Determining Bracket Positions
Place the glass bathroom sink in its intended position on the countertop or against the wall. Use the measuring tape to find the center of the sink's basin. This will be a key reference point for positioning the brackets. Depending on the size and shape of the sink, you may need two or more brackets. For a rectangular sink, it's common to use two brackets placed at equal distances from the center on either side. Mark the positions of the brackets on the wall or countertop using a pencil.
Ensuring Level and Alignment
Once you've marked the positions, use the level to check if the marks are straight. A slightly uneven installation can cause the sink to tilt, leading to water drainage issues and an unsightly appearance. Adjust the marks if necessary until they are perfectly level. Also, make sure the marks are aligned with each other if you're using multiple brackets. This will ensure that the sink is evenly supported.
Installing the Stainless Steel Brackets
Drilling Holes
Put on safety goggles to protect your eyes from flying debris. Using the power drill with the appropriate drill bit, create holes at the marked positions on the wall or countertop. If you're drilling into a drywall, you may need to use wall anchors to provide additional support. Insert the wall anchors into the holes according to the manufacturer's instructions.
Mounting the Brackets
Align the stainless steel brackets with the holes and the wall anchors (if used). Insert the screws through the holes in the brackets and into the wall anchors or directly into the solid surface of the wall or countertop. Use a screwdriver or an impact driver to tighten the screws firmly. Make sure the brackets are securely attached and do not wobble. Check the level again to ensure that the brackets are still straight after tightening the screws.
Attaching the Glass Sink to the Brackets
Applying Sealant (Optional)
If you want to create a water - tight seal between the sink and the brackets, you can apply a thin bead of silicone sealant along the edges of the brackets where they will come in contact with the sink. This will prevent water from leaking into the cabinet or onto the wall behind the sink.
Placing the Sink
Carefully lift the glass bathroom sink and place it onto the installed stainless steel brackets. Make sure the sink is properly aligned with the brackets and sits flat. Gently press down on the sink to ensure a good connection with the sealant (if used). Check the level one more time to confirm that the sink is installed straight.
By following these steps, you can successfully install stainless steel brackets for your glass bathroom sink, ensuring a stable and visually appealing addition to your bathroom.